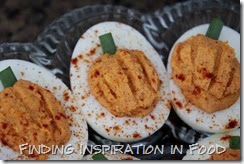
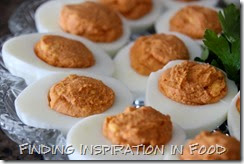
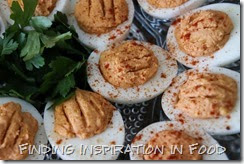
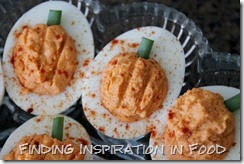
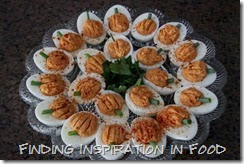
I know it’s getting close to Thanksgiving, but I just had to share these yummy deviled eggs. They turned out super cute looking like pumpkins too so save this recipe for your next Fall party or if you are hosting this weekend, they are easy to whip up. You can decorate them plain too with a simple piping, but they have a perfect orange color to them they make fantastic pumpkins. (See below for how to do it.)
So regardless if you try this recipe or another one I do have a few tips for you when it comes to making the perfect shaped (and cooked) boiled egg.
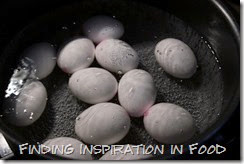
#1 Don’t overcrowd the pot! The eggs need to be in a single layer with an inch of water covering the top. Don’t be ambitious and think you can boil a pot filled with eggs, they won’t all cook evenly.
#2 You can’t use fresh eggs. It’s best that the eggs are about a week old to make them easy to peel. If you use fresh eggs you’ll have a hard time peeling them and have to resort to Pinterest fixes on how to get the egg to peel.
#3 In order to get the yolks perfectly in the middle of the egg, simply flip the eggs in the carton over (as in one at a time not the whole carton closed!) this will allow the egg yolk to slowly settle, otherwise you end up with the yolk on one side of the egg. Just do it the day before you plan on cooking them.
Thai-spiced Deviled Eggs
(Adapted from Foodista)
6 Eggs
2 Tablespoons thick coconut milk, cold(not low fat) or mayonnaise
2 Teaspoons Thai Curry paste (we used the Thai Kitchen brand)
1 Teaspoon ketchup
½ Teaspoon paprika plus more to sprinkle
½ Teaspoon spicy mustard
¼ Teaspoon Sriracha or other red chilli sauce
Salt to taste
For the pumpkin look -
Paprika
1 Spring/green onion
Cover the eggs with an inch of cold water and bring to a boil.
Boil for a minute, then cover and set aside for 10 minutes.
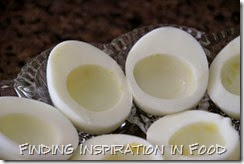
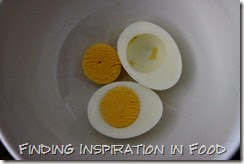
Drain and then fill the pan with cold water. After 5 minutes, peel the eggs. Slice each egg length-wise and gently remove the yolks.
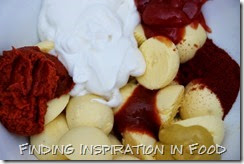
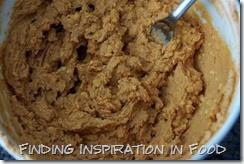
Place the yolks and all the other ingredients in a small bowl and mash until very smooth.
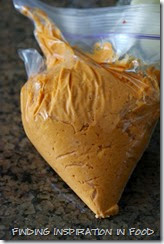
Mound the yolk mixture into the egg whites or transfer it to a ziptop bag and pipe it out.
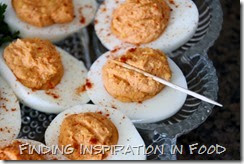
Wet your finger and pat the surface of the filling smooth. Using a toothpick draw lines to make the 'pumpkin' indentations.
Sprinkle with paprika if desired. Cut up the green part of the onion to make tiny stems and add them to finish off the pumpkin look.


No comments:
Post a Comment